Create a Dashboard
Creating a dashboard in MoBro is easy. Follow the steps below to quickly set up a new dashboard.
Create a New Dashboard
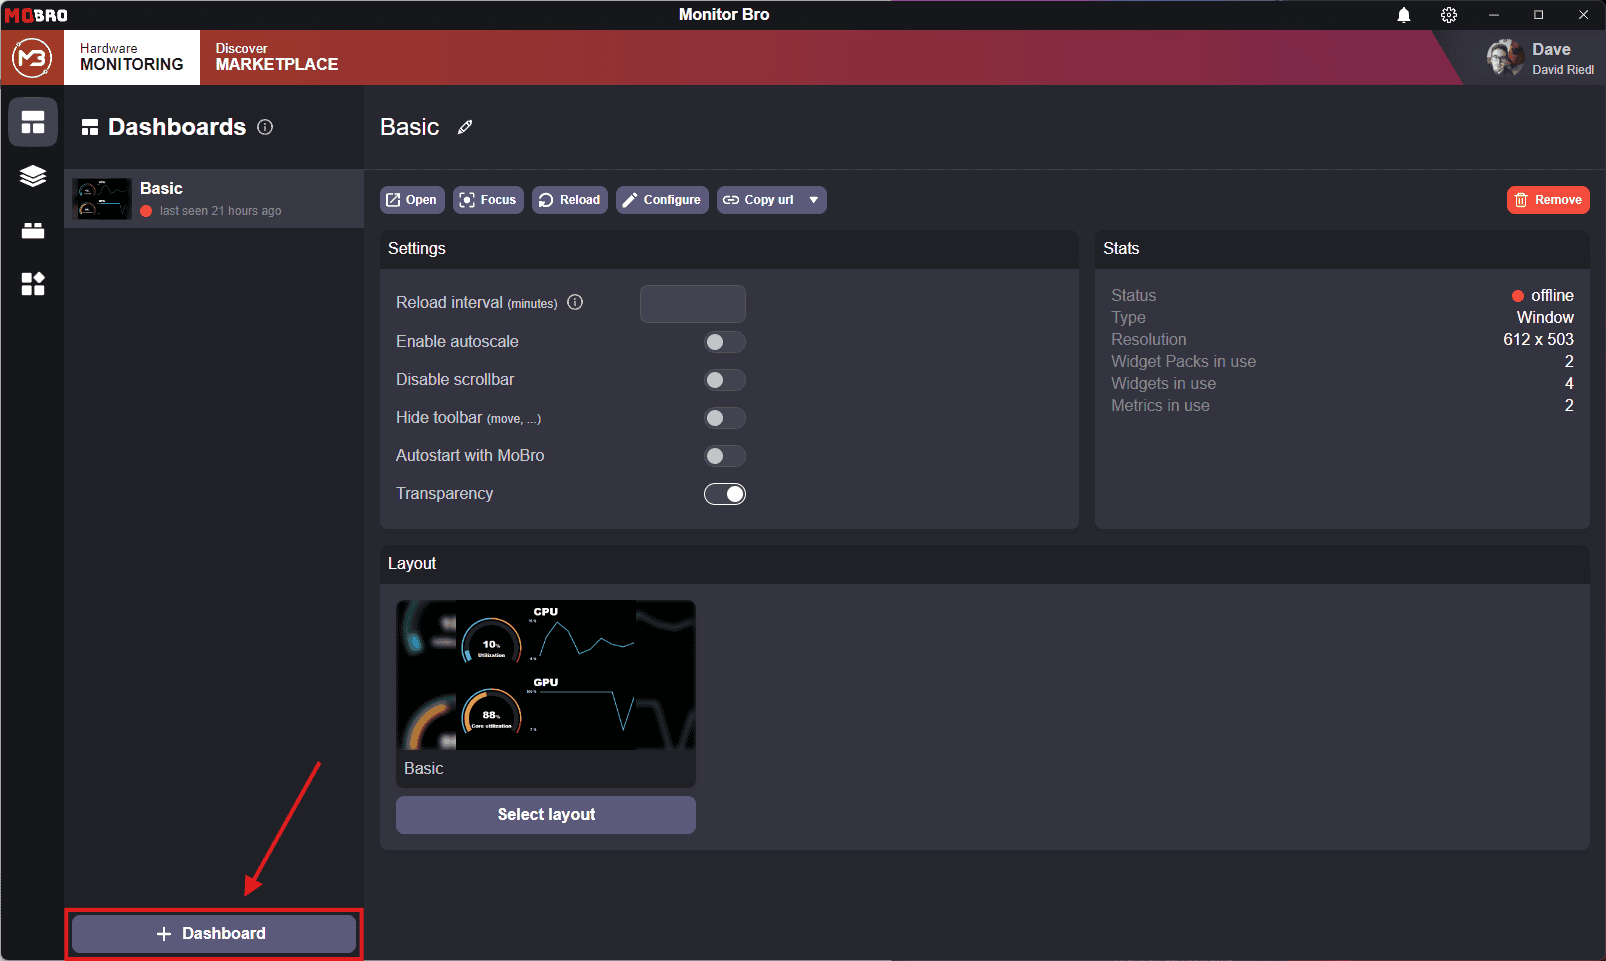
To create a new dashboard, navigate to the Dashboards section of the app and click the + Dashboard button.
External dashboards (e.g., Raspberry Pi, Android app, external browser, etc.) will automatically appear here when they are connected.
Dashboard Wizard
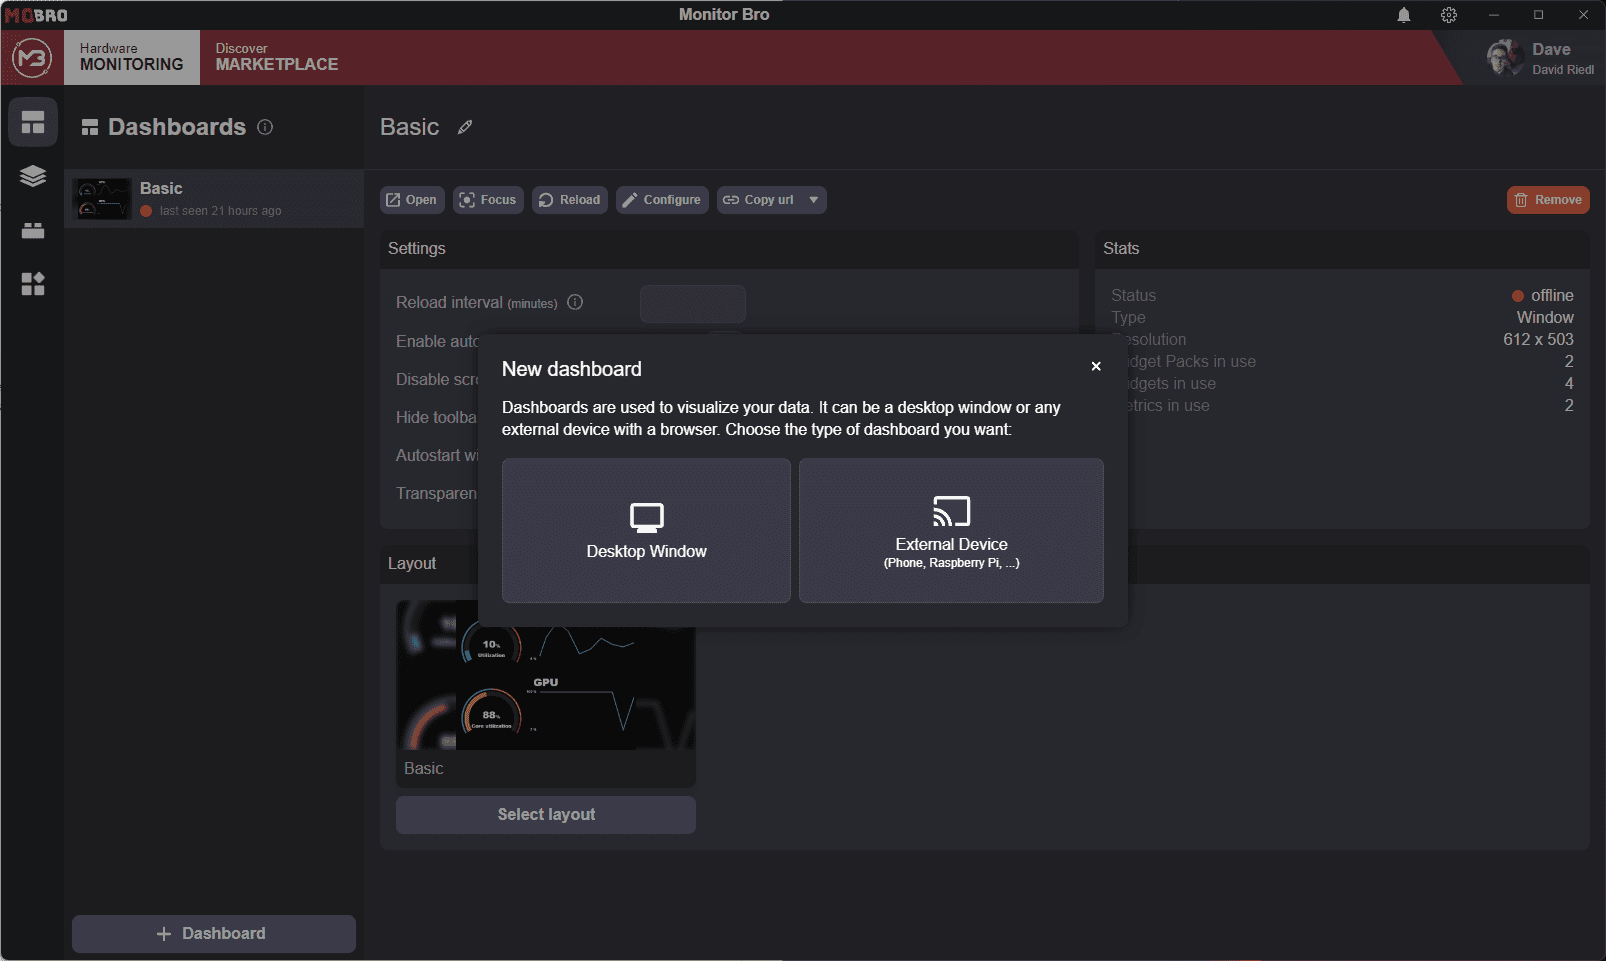
Clicking the + Dashboard button opens the Dashboard Wizard, where you can:
- Create a new desktop window dashboard (the simplest and most commonly used option).
- Connect and use an external device (e.g., an Android phone or a Raspberry Pi).
If you choose to create a desktop window dashboard, you'll be prompted to choose a layout.
Connect an External Device
To use an external device as your dashboard, you must first connect the device to MoBro. Once connected, the device will automatically appear in the device list within the wizard.

Not Connected Yet?
If your device hasn’t been connected yet, follow the appropriate guide below based on your device type:
Choose a Layout
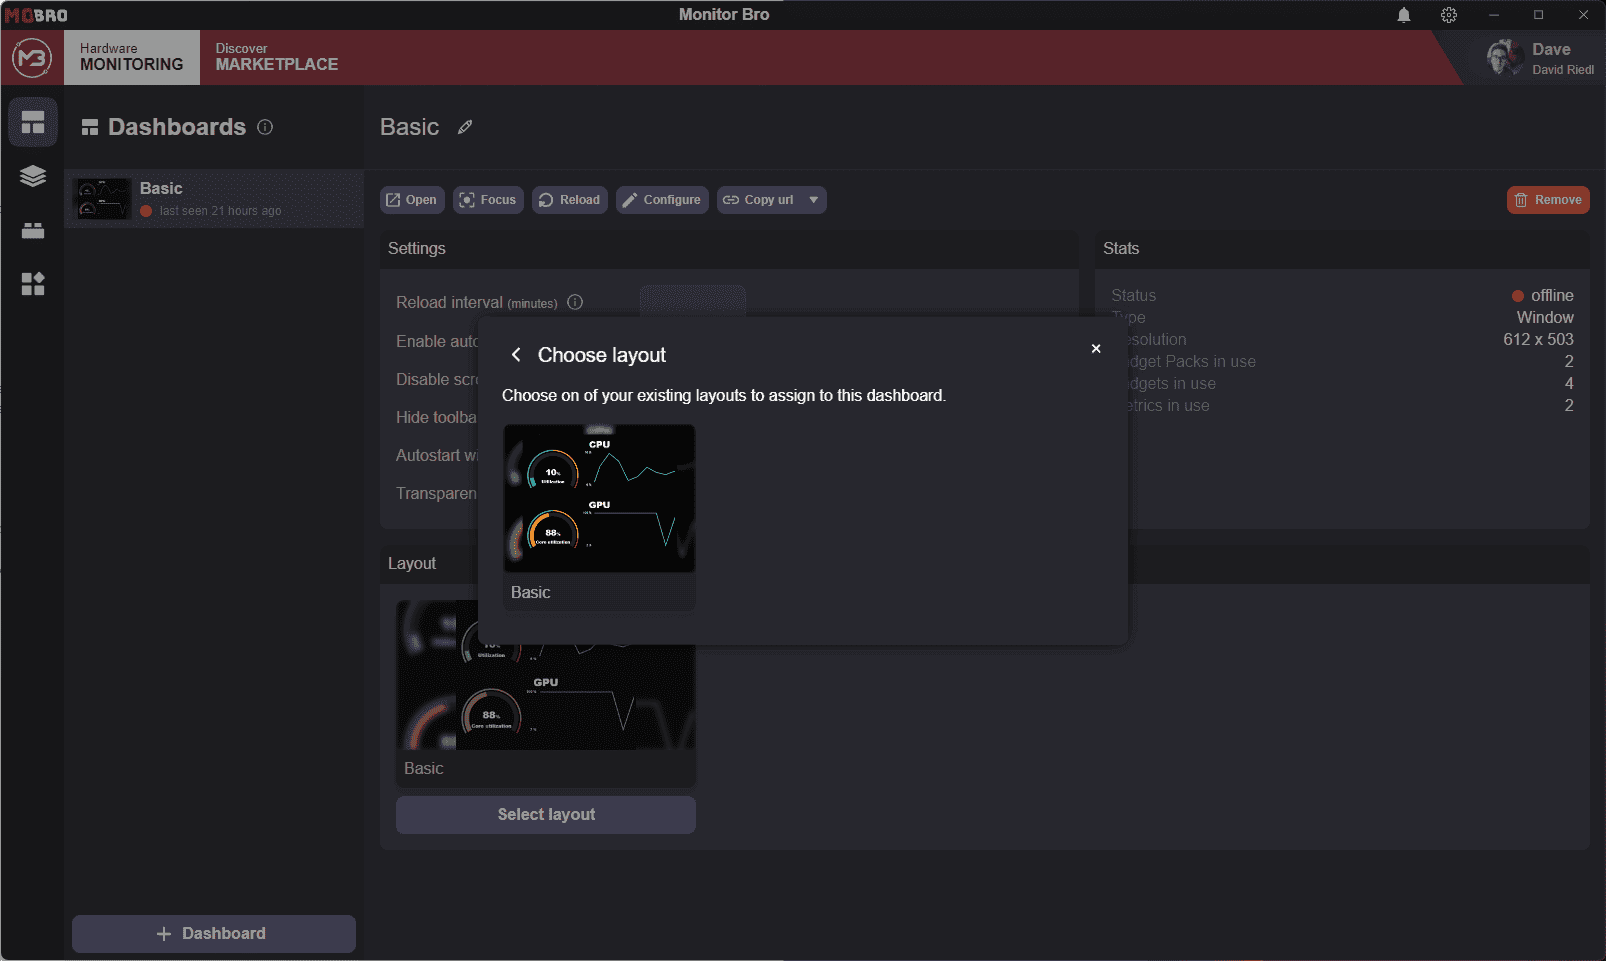
When prompted to choose a layout, you have the following options:
- Start with an empty layout.
- Use a pre-configured layout provided by MoBro or one you’ve installed from the Marketplace.
By default, MoBro includes basic layouts to help you get started. Alternatively, you can install and use shared layouts from the Marketplace.
If you're new to MoBro, we recommend starting with an existing layout to familiarize yourself with the dashboard
builder.
Creating a dashboard from scratch can be time-consuming and may feel overwhelming for beginners.
Customize Your Dashboard
After selecting a layout (either empty or pre-configured), MoBro will open the Dashboard Builder, where you can start customizing your layout to fit your needs.
By following these steps, you can easily create and modify dashboards in MoBro.