Dashboard builder
To edit a dashboard configuration, you need to open the dashboard builder. You can do that by clicking the 'edit' icon on the dashboard configuration card.
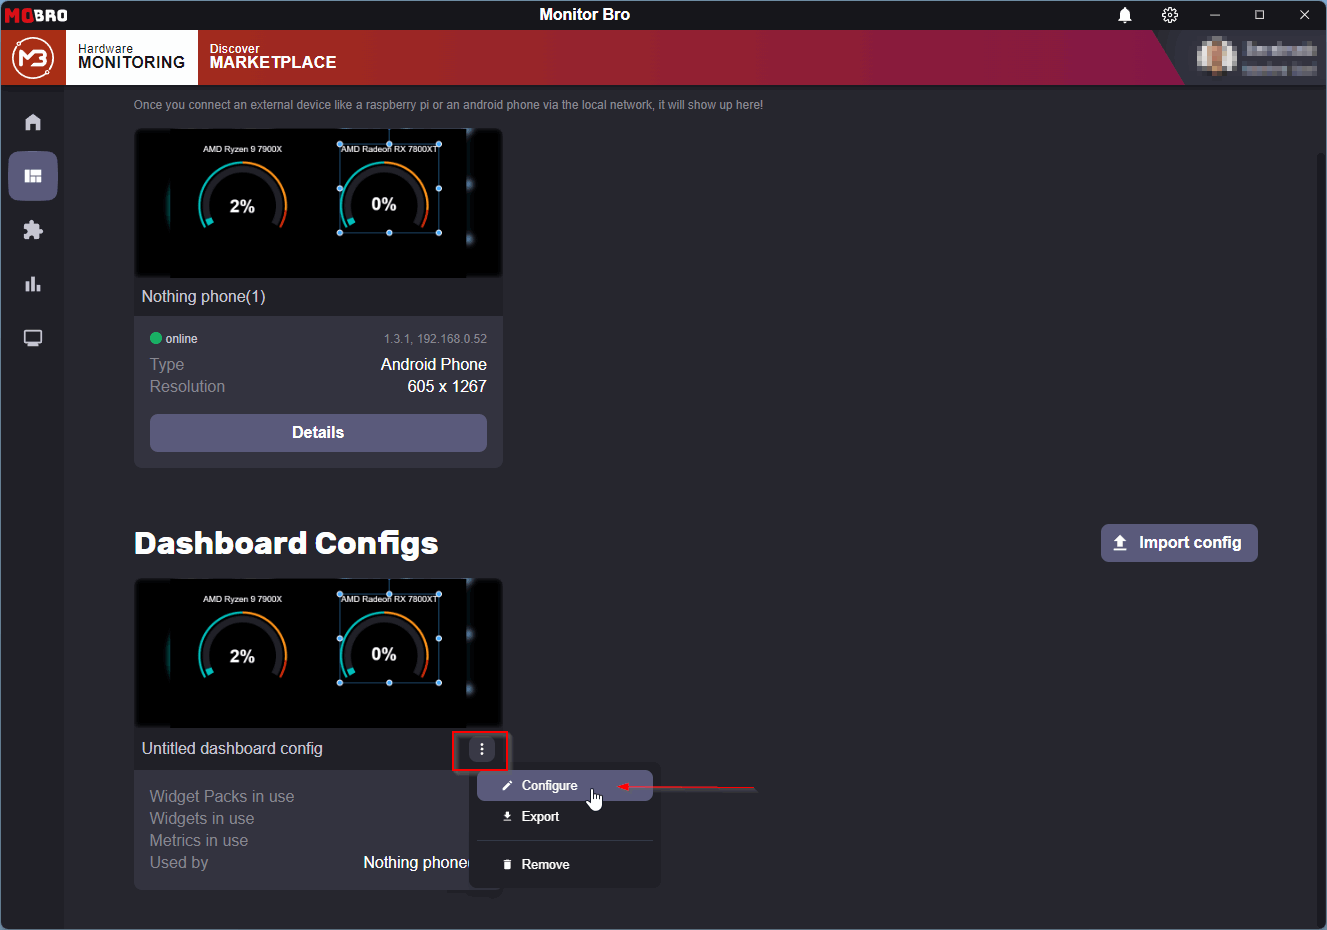
When editing the configuration of a active dashboard , all changes will be synced to the dashboard in real-time (including external dashboards). This way you can immediately check your changes not only in the dashboard builder but also the actual dashboard itself simultaneously.
General overview
This is what the dashboard builder will look like for a new dashboard.
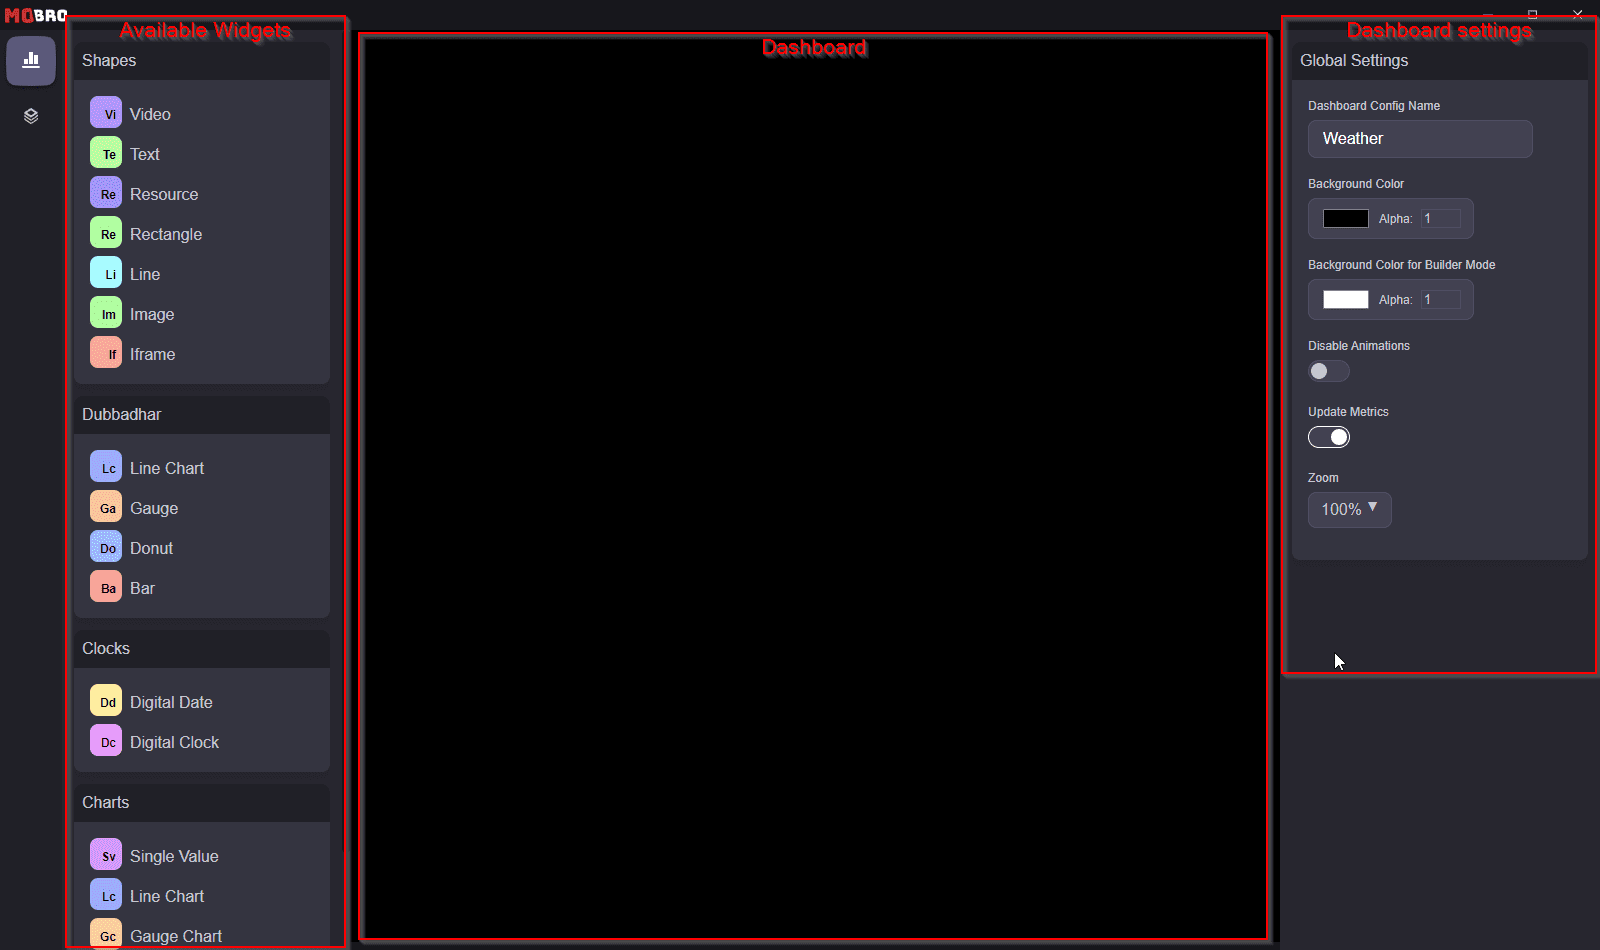
The middle part is our actual dashboard, which is currently empty.
General settings are located to the right. Here we can rename our dashboard configuration or change global settings like the background color. Editing larger dashboards with a lot of widgets can be challenging, therefor we can also disable animations here or temporarily disable metric updates.
On the left side, we can see all our installed widget packs and all of their available widgets.
Adding widgets
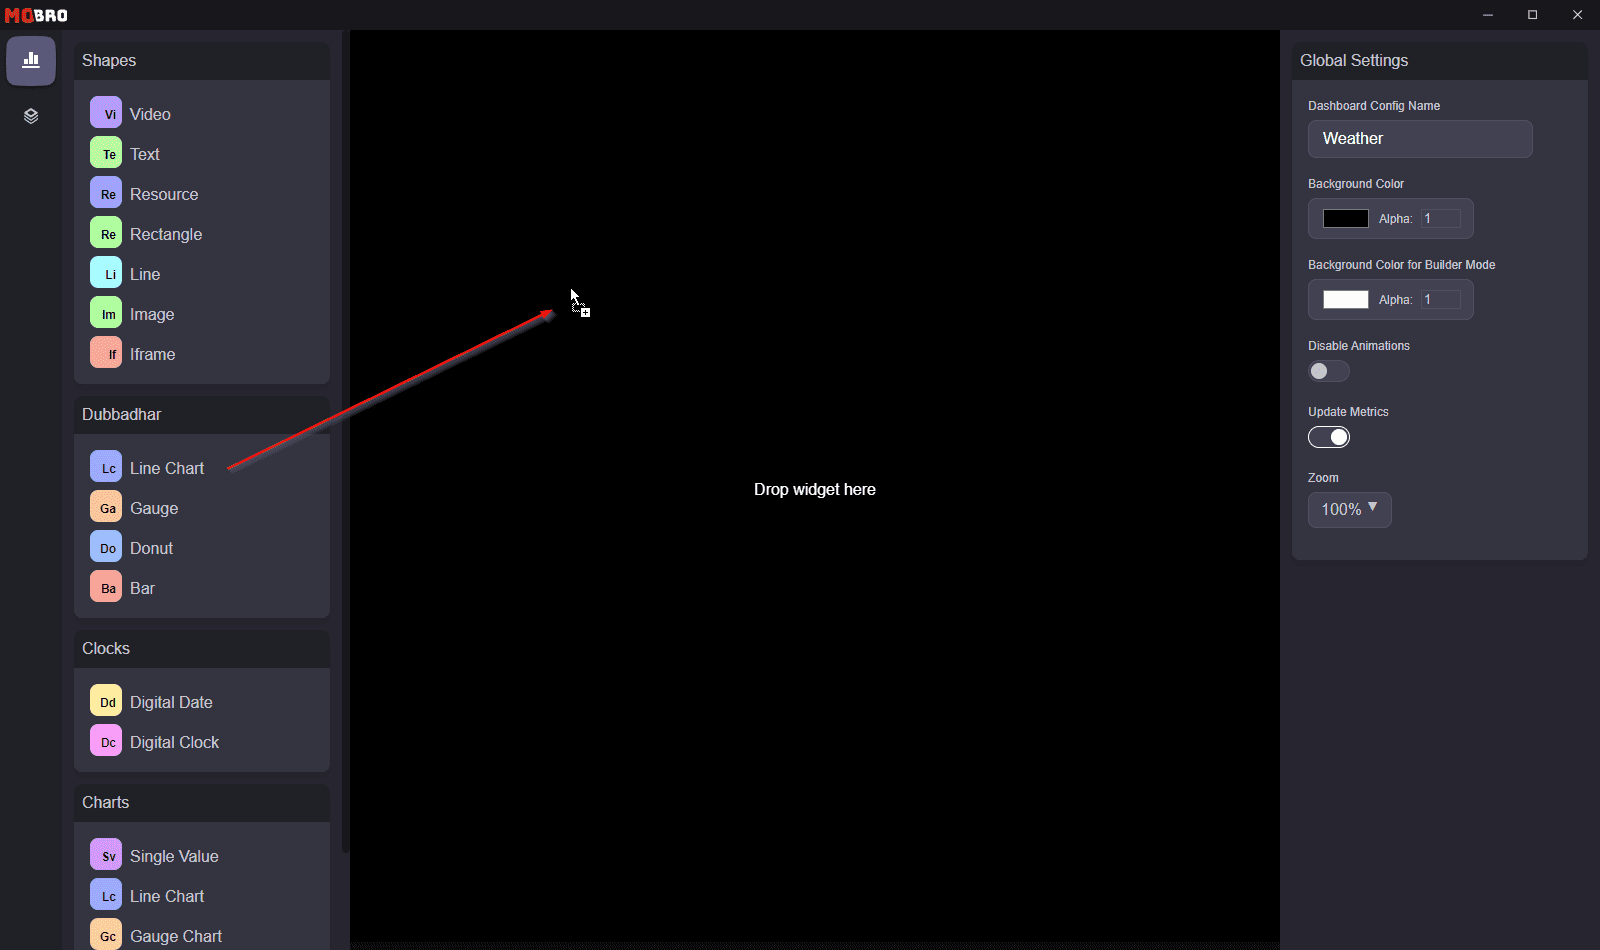
To add a widget to our dashboard we just drag the widget we want and drop it on our dashboard.
Configuring widgets
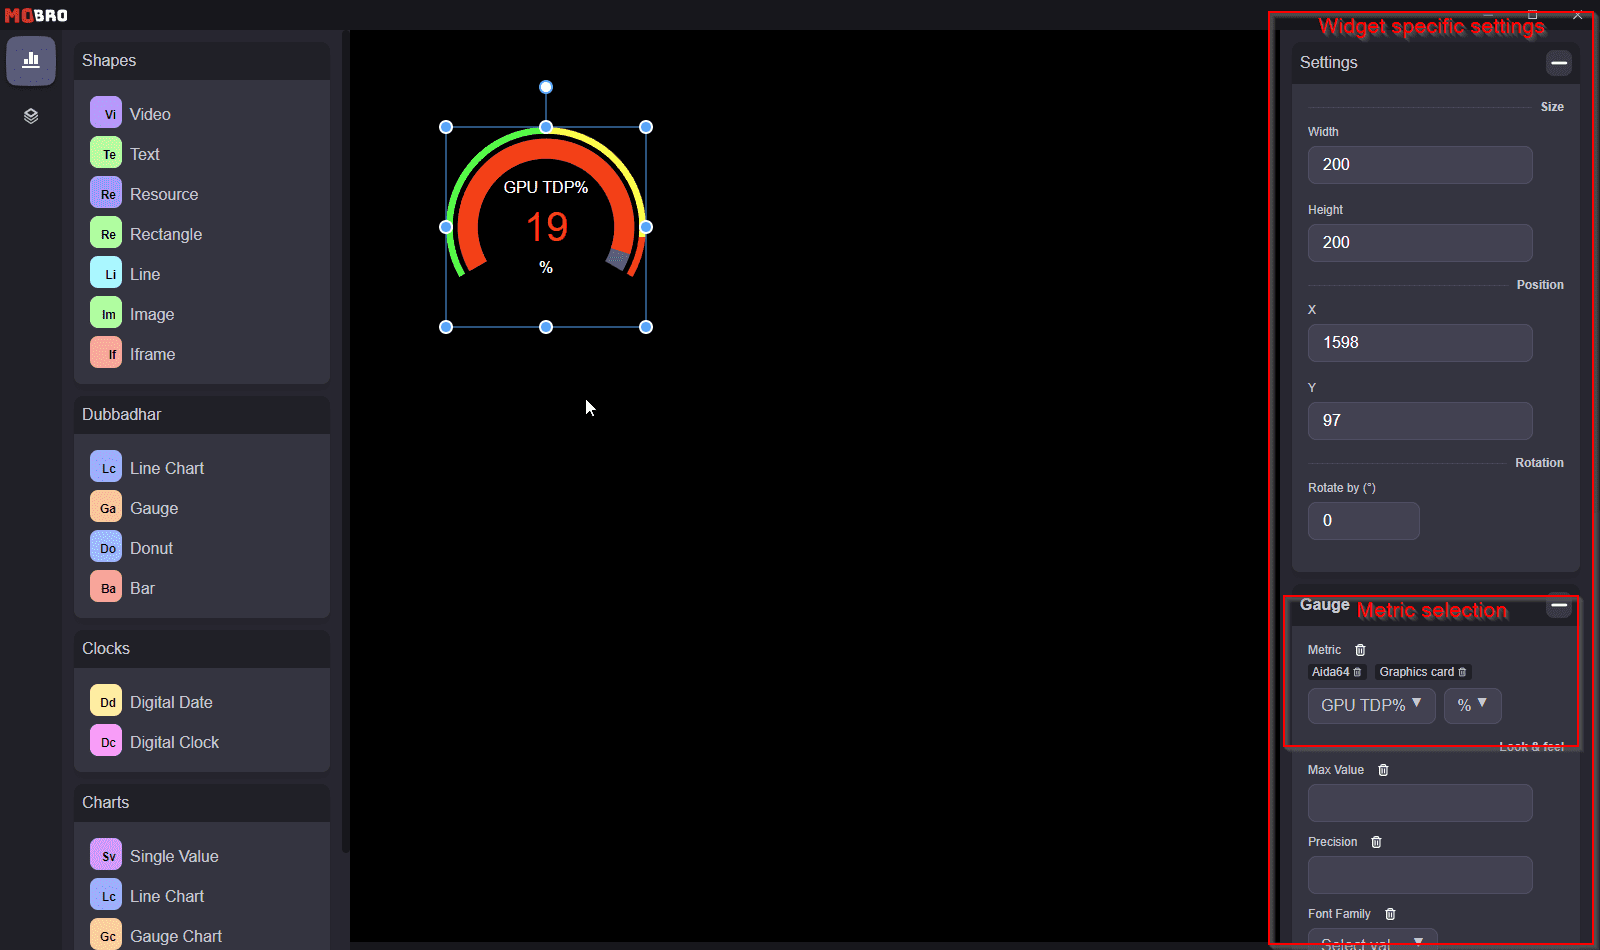
Once we select our newly added widget, the widget-specific settings can be accessed to the right.
To actually see a value in our widget, we need to select the metric first. This is the only mandatory
setting and needs to be selected for most widgets.
Layers
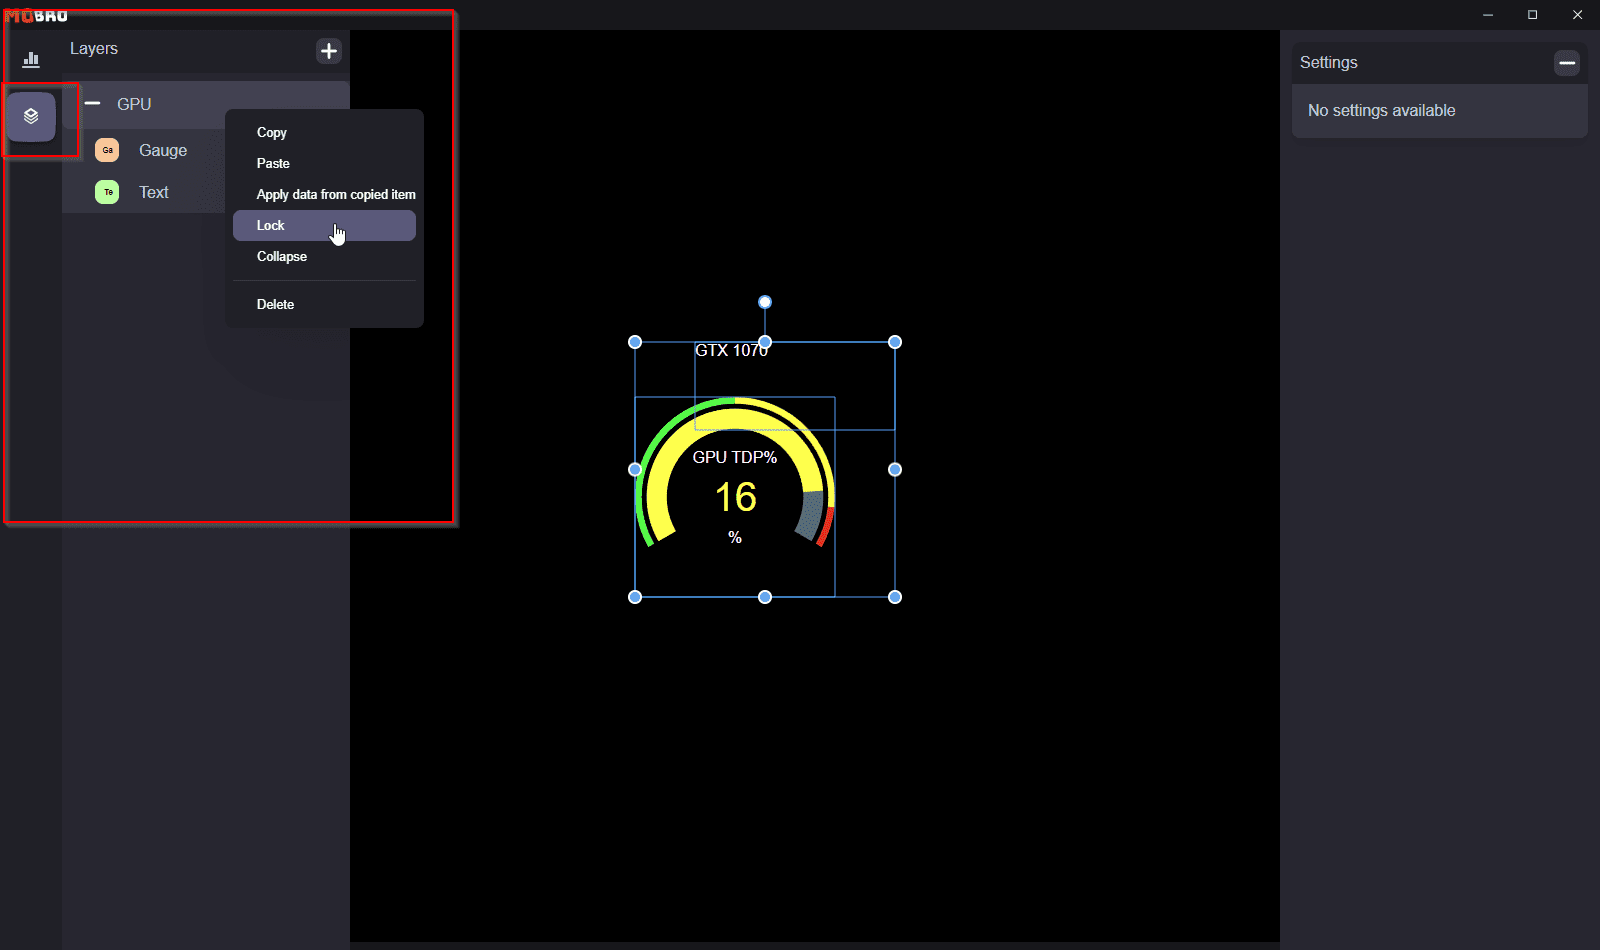
Switching to the second tab allows us to edit our layers. You can reorder your widgets by simple drag and drop.
To better organize your dashbaord configuration, you can also create groups and assign widgets to these. Whenever you select a group, all of its widgets will be selected. This way you can move around a whole group of widgets by simple drag and drop.
Individual widgets or groups can be locked via the context menu to avoid accidental changes to them when moving others around.
You can also copy and paste existing widgets via the context menu or by usual Ctrl+C and Ctrl+V shortcuts.
